Guided Install

Install Visant.AI in Minutes

Follow these steps to connect your camera to Wi-Fi and finish AI setup so you can start detecting what matters.

WiFi setup: ~2 minutes
AI setup: ~3 minutes
Tools required: None

Before You Start

Preparation

Keep your Device ID (attached on the side of the camera and sent to your order email) nearby. Ensure WiFi coverage is solid where the camera is mounted. If you prefer, you can use Ethernet cable to connect the Visant Camera with your router.

WiFi Setup

Step 1
1
Connect the power to the camera using the provided power adapter. Do not use an arbitrary USB-C power supply.
2
After 30 seconds, use your phone and connect to the WiFi network named Visant-wifi-setup-xxxxx (xxxxx is the device ID).
3
Open a browser on your phone and go to 10.41.0.1.
4
Choose a WiFi and input its password.

Power Supply Connection

Camera illustration

AI Setup

Step 2
1
Log in or sign up at visant.ai.
2
In the My Camera menu, click Add Camera. Only Owner, Admin, and Operator can add a camera. If you are a Viewer, then ask your Team Admin to change your role to add the camera.
3
Input the Device ID written on the side of the camera, which is also sent to your order email.
4
Select the camera in My Camera, then click Settings to expand its menu.
5
Adjust settings as needed. You will soon see the captured feed from the camera.

Find your Device ID

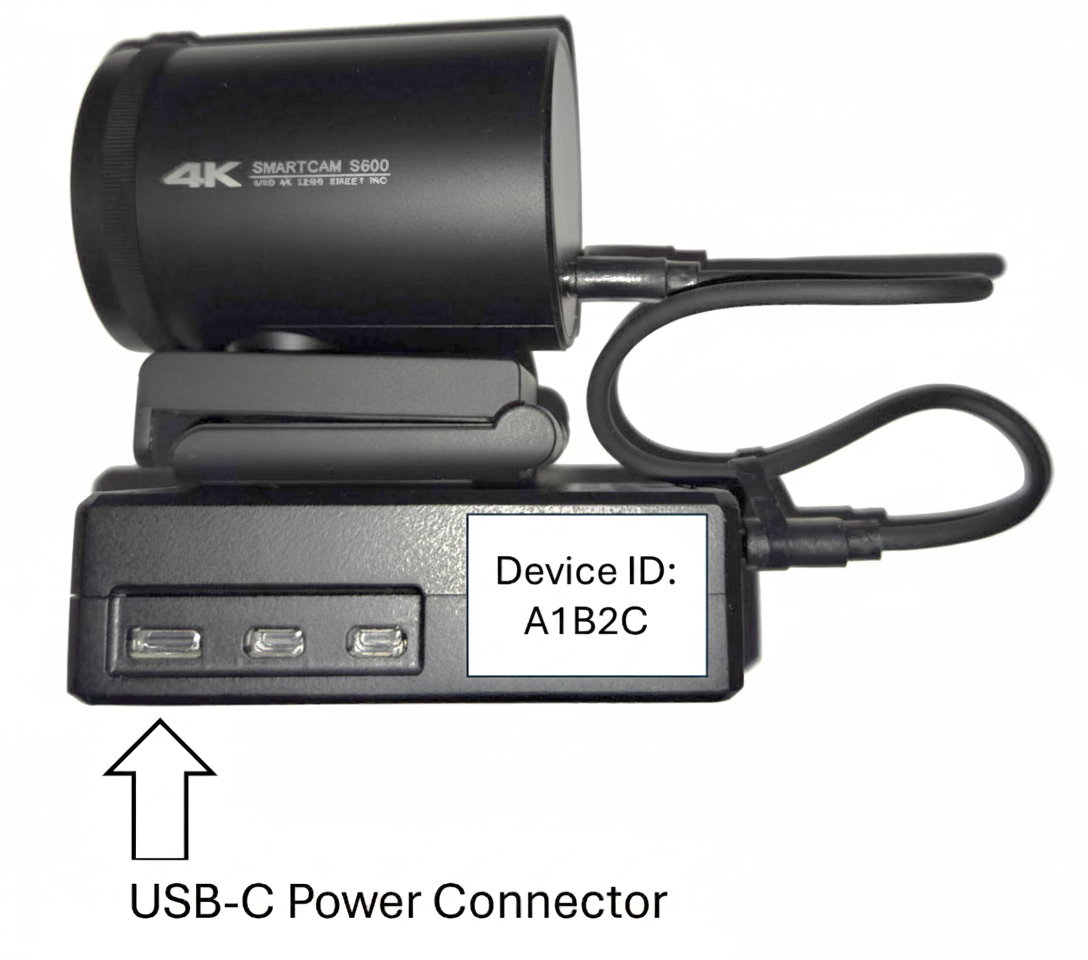
Device ID is printed on the side of the camera and included in your order email.

Device ID example

Professional Camera Hardware

Visant Camera

Need a hand?

Support

Talk to us

Email: visant@contoro.com

We can walk you through WiFi onboarding or AI activation.